The cannabis seedling stage is the critical period between germination and the vegetative phase. This stage typically lasts 2–4 weeks, depending on the strain and growing conditions. Here's a quick breakdown of what to expect and how to care for your seedlings:
- Week 1: Cotyledons emerge, and the first true leaves appear. Focus on maintaining temperatures between 68–77°F and humidity at 60–80%. Use low-intensity lighting and water sparingly to avoid overwatering issues like damping off.
- Week 2: Root systems strengthen, and more true leaves develop. Monitor soil moisture and light positioning to prevent stretching. Adjust watering frequency based on soil dryness.
- Week 3: Seedlings grow sturdier, with visible nodes and branching. Transplanting may be needed if roots outgrow the container. Maintain a gentle breeze to strengthen stems.
- Week 4: Plants transition to the vegetative stage. Humidity can be lowered to 50–60%, and nutrient levels should be adjusted to support growth. Look for signs of preflowers or nutrient deficiencies and address them promptly.
Key care tips include sticking to an 18/6 light cycle, monitoring soil moisture, and ensuring proper ventilation. Starting with high-quality seeds from reliable sources sets the foundation for strong growth.

Cannabis Seedling Care Guide: Week-by-Week Growth Stages
5 Tips For The Cannabis Seedling Stage!
sbb-itb-1add288
Week 1: Cotyledons and First Leaves
In the first 4 to 7 days after germination, your seedling will shed its shell and reveal its tiny, round cotyledons. These "seed leaves" kickstart photosynthesis, providing the energy needed for growth. Soon after, the first true leaves with jagged edges appear, signaling that active photosynthesis is underway.
While the stem begins reaching upward, the taproot grows downward, anchoring the plant and searching for water and nutrients. This dual development of leaves and roots makes Week 1 a crucial period for your plant’s foundation. As Humboldt Seed Company emphasizes:
"Seedlings are particularly delicate and should be handled with care to avoid damaging their fragile root system".
To support this rapid growth, maintaining the right environmental conditions is essential. Keep temperatures between 68°F and 77°F, paired with 60–70% relative humidity. This ensures the leaves can absorb moisture while the roots are still establishing themselves. A spray bottle or mister works well to keep the soil moist, but avoid overwatering - damping off, a deadly fungal infection caused by pathogens like Pythium or Rhizoctonia, can occur if the soil becomes too wet. Water only when the top inch of soil feels dry to the touch.
For lighting, stick to low-intensity options like CFLs or LEDs on an 18/6 schedule (18 hours on, 6 hours off). Position CFLs 2–4 inches above the seedlings and LEDs 12–18 inches away. If you notice your seedlings stretching, lower the light to prevent them from becoming unstable. There’s no need to add fertilizers during this early stage — the seed husk and cotyledons provide all the energy the plant needs. Adding nutrients too soon can harm the delicate roots.
Introduce a gentle breeze using an oscillating fan to strengthen the stems, but avoid strong airflow that could damage the seedlings. Starting them in small containers with drainage holes helps the soil dry quickly, reducing the risk of root rot.
Week 2: Root Development and Stem Growth
Between days 7 and 14, your seedling shifts its focus toward building a strong root system. The taproot digs deeper while lateral roots spread outward, creating a solid base for future growth. Above ground, the second and third sets of true leaves begin to emerge, now with more defined, serrated edges. At the same time, the stem starts to thicken and stretch upward. If you notice excessive stretching, however, it could mean your light source is too far from the plant. These developments signal that it’s time to fine-tune your care routine.
Healthy roots thrive when moisture and oxygen are well-balanced. As Nebula Haze explains:
"Roots work best when they get as much oxygen as possible while also staying completely moist at all times".
To maintain this balance, let the soil dry slightly before watering. The "top inch" rule is a simple guide: water only when the top inch of soil feels dry. Another handy method is the "pick up the pot" technique - lift the pot to gauge its weight. A lighter pot means it’s time to water; a heavier one means the soil still holds enough moisture. For seedlings in 3- or 5-gallon fabric pots, gradually increase the amount of water as the plant grows.
Light intensity also plays a key role during this stage. Stronger light helps the stem grow sturdier and prevents it from becoming too leggy. Position LED lights about 12 inches above the seedlings, while CFLs should be 6–8 inches away. If you notice stretching, lower the light by 1–2 inches. Stick to an 18/6 light cycle, keeping temperatures between 68°F and 77°F and humidity levels at 65–80%. A gentle breeze from an oscillating fan can also help strengthen stems, but make sure the airflow isn’t directly hitting the plants.
Nutrient needs depend on your growing medium. If you’re using high-quality soil, additional feeding usually isn’t necessary during the first 2–3 weeks. For coco coir or hydroponic setups, start with a diluted fertilizer solution - about 1/8 to 1/2 of the manufacturer’s suggested strength - once the first true leaves appear. Keep nutrient concentrations between 200–400 PPM (0.2–0.4 EC) and adjust the pH to 6.0–7.0 for soil or 5.5–6.5 for hydroponics.
Pay attention to your seedling’s signals. Pale or lime-green leaves might mean nutrients need to be slightly increased, while drooping or yellowing often points to overwatering. If you’re using fabric pots, remember they dry out faster than plastic ones due to their breathable sides, so check moisture levels more often. By the end of Week 2, your seedling should have 3–4 sets of true leaves and a sturdier stem, setting the stage for the vegetative phase.
Week 3: Branching and Structural Development
Between days 14 and 21, your seedling starts to show real progress, shifting from a delicate sprout to a sturdier young plant. During this time, the stem thickens, nodes become more pronounced, and the first branches begin to form. By the end of Week 3, a healthy seedling is usually 4 to 6 inches tall and has developed 3 to 5 sets of true leaves with serrated edges. This structural development lays the groundwork for future vegetative growth and the eventual weight of buds.
Proper light management becomes critical at this stage. If your seedling looks stretched or "leggy", it’s a sign the light source is too far away. Adjust the light to recommended distances - 15–20 cm for CFL, 12 inches for LED, and 20 inches for HID. Using blue spectrum light can also encourage bushier growth and stronger stems. Robert Bergman, founder of ILGM, offers this advice:
"If you're using HPS grow light, place them as close to the seedlings as possible but don't let temperature exceed 77°F".
Lighting isn’t the only factor in strengthening your seedling. Introducing a gentle breeze using a small oscillating fan can help. This breeze creates slight movements in the stem, which encourages it to grow thicker and more robust. Cannabis journalist Max Sargent explains:
"The tiny movements [from fans] cause micro-tears in the stem tissue, which, like with animal muscle, repairs tougher and stronger".
To support this growth, maintain the environment within the ideal range: 68°F to 77°F for temperature and 60–70% humidity. These conditions not only strengthen the plant’s structure but also prepare it for a critical milestone — transplanting.
Week 3 is often the perfect time to move your seedling into a larger container, such as a 3-liter pot or a fabric pot for improved aeration. Look for signs that it’s ready: leaves extending beyond the edges of the current pot or roots becoming visible through the drainage holes. Allow the soil to dry slightly before transplanting to keep the root ball intact. In the days leading up to the move, water about 1 inch away from the stem to encourage outward root growth, which will help the plant adapt to its new container. After transplanting, water thoroughly to settle the soil and ensure the roots make good contact with the fresh medium.
Week 4: Final Seedling Stage and Vegetative Transition
By Week 4, your seedlings should show 5–7 serrated fan leaves, signaling they’ve reached maturity. The main stalk will have thickened significantly, forming a sturdy, woody base to support the rapid vertical growth ahead. At this point, most healthy plants stand between 6 and 12 inches tall and boast around 7 sets of leaves. If your container is getting cramped, it’s time to transplant. With these signs of maturity in place, it’s crucial to adjust the growing environment to support the transition into the vegetative stage.
Start by tweaking the environmental conditions. Lower the humidity to 50–60% to reduce the risk of mold as the canopy becomes denser. Keep temperatures steady between 70°F and 80°F to encourage vigorous growth during this energy-intensive phase. Stick with an 18/6 light cycle, and if you’re upgrading to stronger lights, aim for 300–500 micromoles of light intensity. Position HID lights about 20 inches away and LEDs around 12 inches.
As your plants grow, their nutrient demands will shift. Once the seedling reserves are depleted, you might notice slight yellowing on the lower leaves - this is a common sign of nitrogen deficiency. Transition to full-strength, nitrogen-rich vegetative nutrients (400–600 PPM), and monitor the water pH closely. For soil, keep the pH between 6.0 and 7.0, and for hydroponic systems, aim for a range of 5.5 to 6.5.
Keep an eye out for signs of stress or imbalance. Tip burn or overly dark green leaves can indicate overfeeding, while curling leaves might mean your lights are too close or temperatures are too high. On the other hand, leggy stems often point to insufficient light. Adjust feeding, lighting, and temperature settings as needed to keep your plants thriving. As Amsterdam Seed Center explains:
"Cannabis plants are considered seedlings until they begin to develop leaves with the full number of blades on new fan leaves".
Once those iconic 7-blade fan leaves emerge, your plant officially enters the vegetative stage.
Some strains may even show early preflowers at this stage - look for small white pistils on females or tiny pollen sacs on males at the branch nodes. These are signs your plant is gearing up for advanced growth. After establishing a robust root system and at least 4 sets of leaves, you can begin low-stress training or topping to encourage a bushier canopy.
Weekly Care Requirements Table
Here’s a handy table summarizing the key care needs for seedlings during each week of growth. It’s designed to complement the detailed information shared earlier.
| Week | Temperature (°F) | Humidity (%) | Light Hours | Watering Frequency | Common Issues & Solutions |
|---|---|---|---|---|---|
| Week 1 | 68–77°F (up to 80°F) | 70–80% | 18/6 | Light misting as needed | Stretching: Move lights closer (2–4" for CFL). Damping off: Improve airflow and reduce water. Stuck husk: Gently remove with tweezers. |
| Week 2 | 68–77°F | 65–70% | 18/6 | Every 2–3 days (~2 cups in a circle) | Stretching: Adjust light distance or intensity. Slow growth: Check for cold temps or insufficient light. |
| Week 3 | 68–77°F | 60–70% | 18/6 | Water when the top inch is dry (~3 cups) | Nutrient burn: Flush with pH-balanced water and keep nutrient levels under 800 PPM. pH lockout: Ensure water pH is 6.0–7.0 for soil. |
| Week 4 | 68–77°F | 50–60% | 18/6 | Every 2–3 days (water until runoff) | Root bound: Transplant to a larger container. Pests: Apply neem oil or improve ventilation. |
This table serves as a quick reference to fine-tune your care routine as seedlings progress.
Additional Tips for Seedling Care
- Use the weight method: Lift your pots to check moisture levels. If the pot feels light, it’s time to water. A heavier pot means there’s still enough moisture.
- Fabric pots vs. plastic pots: Fabric pots lose moisture more quickly due to evaporation through the sides, so you may need to water more often.
- Night vs. day temperatures: Keep nighttime temperatures about 5°F cooler than daytime to mimic natural growing conditions.
- Watch humidity levels: If humidity drops below 20%, seedlings may develop yellowing or spots that look like nutrient deficiencies. Maintaining proper moisture levels is critical.
"Overwatering cannabis plants is the #1 mistake that beginner cannabis growers make." - Nebula Haze, Founder, GrowWeedEasy
If your seedlings droop, it could mean they need more water. On the flip side, if the soil stays wet for more than 3–4 days, consider watering less frequently or increasing ventilation to help the soil dry out.
Conclusion
This week-by-week guide has highlighted the key steps and milestones involved in the seedling phase. While this stage is relatively short - just 2 to 3 weeks - it plays a critical role in setting up your plants for success. As Max Sargent, a cannabis journalist, puts it:
"Optimizing the seedling stage is vital for a successful harvest! At this point in their lives, plants are fragile, so damage can be critical."
During this time, your plants are hard at work developing their root systems and structural foundation, even if the growth above ground seems minimal.
Patience and consistent care are your best allies during these early weeks. Regularly check your seedlings - ideally twice a day - to monitor moisture, temperature, and humidity. Even small environmental changes can stress or harm your plants, potentially stunting their growth or worse. By providing steady attention and protection, you give your seedlings the best chance to flourish.
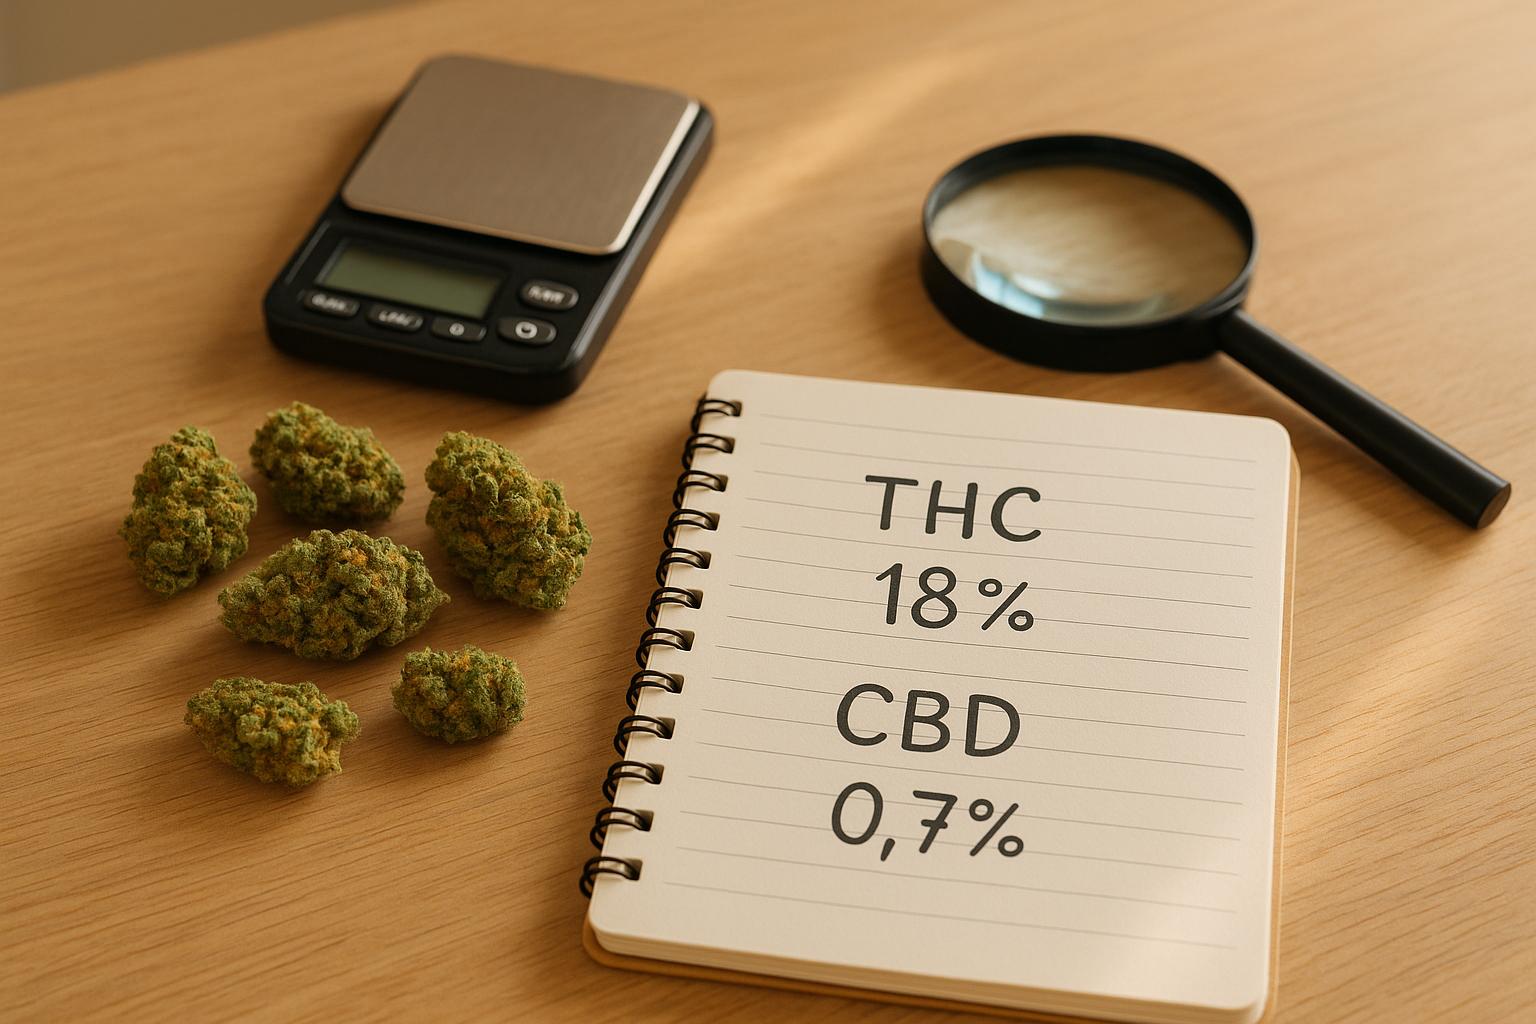
Of course, success starts with quality genetics. High-grade seeds are the foundation for healthy germination, strong growth, and a satisfying harvest. As Steven Voser from Sensi Seeds explains:
"The cannabis you harvest is only going to be as good as the genetics you're growing."
Opting for seeds from trusted sources - like those listed on Cannabis Seeds Directory - can help you avoid issues like weak plants, mutations, or poor yields. Reputable seed banks often provide germination guarantees and detailed strain information, ensuring a smoother growing process from the very start.
FAQs
What are the common signs of overwatering cannabis seedlings?
Overwatering cannabis seedlings can lead to a range of issues that are hard to miss. You might see drooping or limp leaves, yellowing or curling foliage, or even notice that growth has slowed down or stopped altogether. If the soil stays constantly wet and doesn’t dry out, it can create even bigger problems, like nutrient deficiencies or leaves dropping off without any signs of wilting. On top of that, too much moisture can attract pests like fungus gnats or cause green algae to grow on the soil surface.
To avoid overwatering, make sure your pots have good drainage, water only when the top inch of soil feels dry to the touch, and resist the urge to drench the soil. Paying close attention to your seedlings' needs can make all the difference in helping them grow strong and healthy.
When is the right time to move my cannabis seedlings to a bigger pot?
When your cannabis seedlings start to outgrow their starter pots and develop their first set of true leaves, it’s time to transplant them. This usually occurs about two weeks into the seedling stage, which typically lasts between 1 and 3 weeks. Handle the seedlings carefully to avoid harming their delicate roots, and make sure the new pot has good drainage to promote healthy growth.
How do I stop my cannabis seedlings from growing too tall and thin?
To keep your cannabis seedlings from stretching, focus on providing the right light conditions from the very beginning. Use a soft LED or CFL light positioned about 12–18 inches above the plants, and stick to an 18–24 hour light cycle. If the light is too dim or placed too far away, seedlings will stretch upward in search of it, leading to weak, elongated stems. Maintain a steady temperature of 68–77°F and humidity levels between 65–70% to promote healthy, balanced growth.
Watering is another factor to watch closely. Keep the soil consistently moist, but avoid overwatering, as overly wet conditions can weaken the stems and contribute to stretching. Adding a small fan to create a gentle breeze can help strengthen the stems. Starting with smaller pots - about ½–1 liter - during the first two weeks encourages proper root development. If you notice stretching, consider lowering the light slightly or adding a reflector to boost light intensity without overheating your plants.
Finally, starting with top-notch genetics can make a world of difference. Check out the Cannabis Seeds Directory to find seeds from reliable breeders who focus on strains designed for compact, vigorous growth.